
We all have that one room in the house that is the “Lets keep the door shut” room. That room in my home has always been the laundry room, with the broken floor tiles (which I had to duct tape down) the fridge that came with the house from 1970 that was so ugly I tried to paint it a few years ago, which made it uglier, and it became the keep the door shut room. I scrolled through pinterest to find some inspiration and began putting together an idea board with layout for our small space, and then started price shopping for tile, and counters. I wanted to keep the renovation of this room really inexpensive because the washer and dryer were a large cost. We ended up getting the cabinets at lowes in the scratch and dent area, and the counters are formica in the DIY area at Lowes. This project came in under budget, we purchased the counters, floors, tile, cabinets and backsplash and all supplies for under $600. I am a self taught tile layer, I really enjoy laying tile, its a huge transformation in a short amount of time. I added the goose neck light for design, it does offer light but its mostly for looks (hehehe). We opted for open space under the counter for laundry baskets. I am loving the stackable washer and dryer. Its really quiet and looks so pretty.
Here is the after photo, crisp clean and inviting!

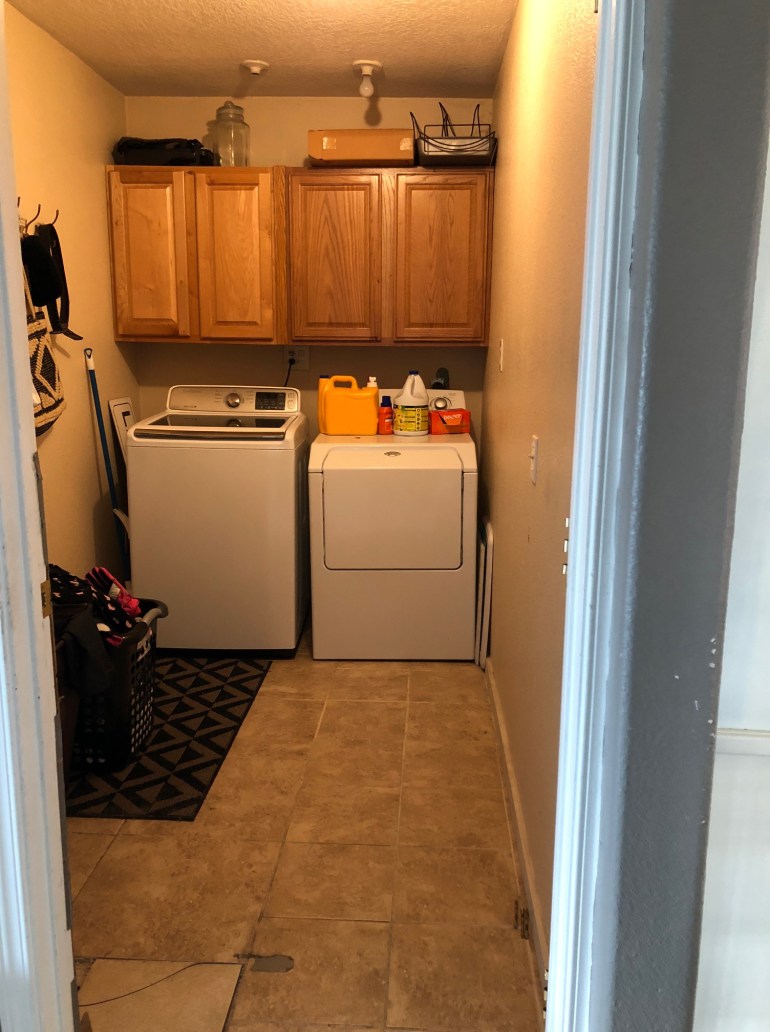
Here is the BEFORE: Dark, yellow light, and doesnt make me want to do any laundry!
Using a floor scraper, we were able to pop up the old tile and scrape the floor to prep it for the new tile:

Finding your center spot, you lay your first piece and work your way out the door:

Backsplash is an easy way to had a huge design element, find your center on the wall and work out so the cuts are on the edge and not in the center:
